
Geo Tag Images: Image Geo-tagging, Size, and Mobile Photography Guidelines
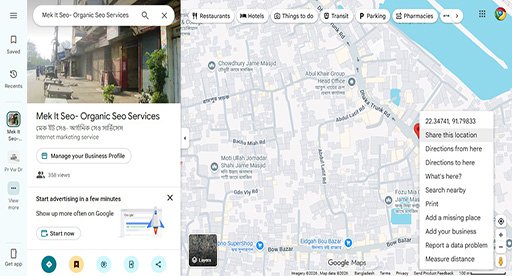
Geo-locating images is very important for local SEO. In this article, I will discuss the method to rank at the top of Google’s search results in local SEO. When a customer searches on Google for ” Restaurants Near Me”, Google doesn’t just look at the business name but also analyzes the quality and size of the profile picture and its embedded metadata or geotags.
Let’s learn how to optimize geo tagging images to bring your restaurant or business profile to the number one position on Google:
Part 1: Google Business Profile (GBP) Correct image size and technical guidelines (Image Size)
If you upload an Geo Tag Images of the wrong size in GBP, Google may crop it or make your image appear blurry. So resize your images to the following sizes before uploading:
1. Logo: 720 × 720 pixels (1:1 square aspect ratio).
2. GBP Cover Photo: 1024 × 576 pixels (16:9 landscape ratio). Keep the main attraction of the photo exactly in the center so that even if the edges are cropped on mobile devices, the main part remains visible.
3. GBP Post and Product Images: 1200 × 900 pixels (4:3 ratio). This is the best size for sharing posts about new menu items or any offers.
4. GBP Post and product images: 1200 × 900 pixels (4:3 aspect ratio). This is the best size for sharing posts of new menu items or any offers.
5. GBP Normal image (food or environment): 720 × 720 pixels. This is the safest and standard choice for all devices.
6. GBP General images (food or environment): 720 × 720 pixels. This is the safest and most standard choice for all devices.
Emergency Rules for Geo Tag Images: What You Must Know
1. Format: Always Geo Tag Images use the JPG format. (It is the most effective for geotagging).
2. Image File Size: The image size must be between 10 KB and 5 MB.
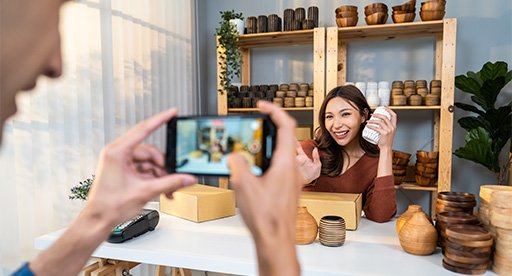
Part 2: Identify Location From Photo Without Geotag (Mobile Geo-Tagging)
If you want to avoid the hassle of editing on a separate computer, you can add GPS data directly when taking a photo tagging with your mobile phone. There are 2 easy ways to do this:
Method 1: Using the phone’s default camera (easiest)
You can take perfect GPS-tagged photos using your Android or iPhone’s built-in camera app for .
1. Turn on Location on your phone: First, enable the main ‘Location’ or ‘GPS’ option on your phone.
2. Go to camera settings: Open the phone’s camera app and click on its Settings or gear icon.
3. Turn on Location Tags: On Android, select “Location Tags” or “Save Location” and on iPhone, go to `Settings > Privacy & Security > Location Services > Camera` and select “While Using the App”.
4. Take a photo: Now, if you are in the restaurant and take a picture, the phone camera will automatically save the latitude and longitude of that place as part of the photo’s background.
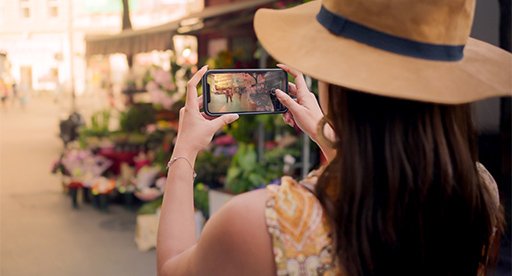
Method 2: Use a third-party camera app (Advanced)
If you want to see the lat, long and address watermark right on the geotag online photo, you can use an app from the App Store.
1. App Name: GPS Map Camera (Available for free for both Android and iOS).
2. How it works: When you open this app and take a picture, it pulls the live location from Google’s satellite map and adds it to the photo’s metadata. This is a great app for local SEO experts to provide proof of work.
Part 3: Geotagging Images on a Computer with GeoImgr (Desktop Process)
If you want to optimize your digital camera or any other photo (where GPS was not enabled), we will use the GeoImgr website. Below are the exact instructions:
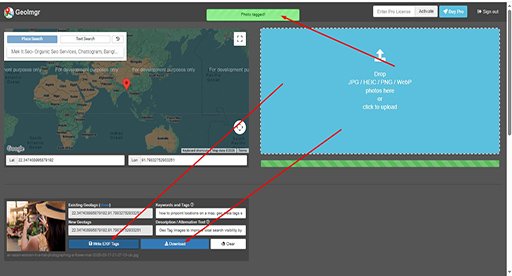
1. Upload Image: Go to the GeoImgr tool and drag and drop your restaurant image into the blue box on the right.
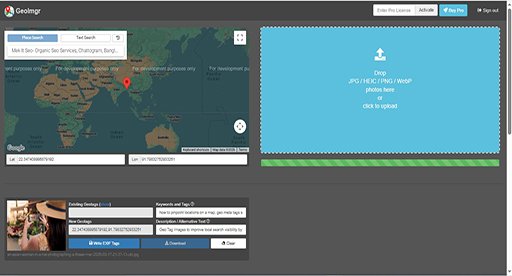
2. How to pinpoint locations on a map: Search for your restaurant by typing its full name or address in the search box on the map on the left and drag the red marker to place it on the roof of your store. (The New Geotags box will contain your location coordinates. You don’t need to do anything in the ‘Existing Geotags’ box). Helpful Info: Creative Digital Marketing
3. Add SEO keywords: In the Keywords and Tags box, Geo Tag Images enter your primary keyword: `Restaurants Near Me`. You can also add additional geo meta tags seo, including the name of your area, separated by commas (,).
4. Write a description: In the Description box, Geo Tag Images write a 1-2 line description about your restaurant and use your main keyword naturally within it.
5. Write and Download: Click the light blue “Write EXIF Tags” button below and then click the “Download” button to the right of it to save the image.
Part 4: Expert Local SEO Tips (Local SEO Pro-Tips)
1. File Renaming: Regardless of where you prepare the image—mobile or computer—before uploading, rename the file and save it with your keyword, such as: `best-restaurants-near-me.jpg`.
2. Add real photos of your business, office and location: Google doesn’t like stock photos with added filters or downloaded from the internet. Provide real photos of the interior of your restaurant and the food.
3. Keep the amount of text to a minimum: If an offer or phone number is written in large letters on the Image Geo-tagging, Google reduces the reach of that image. If you have to include a logo or text, then it should not take up more than 10% of the entire image.
Software Warning!
Avoid using old desktop software like GeoSetter to geotag images. Although these softwares are malware-free and very old, their map feature does not work and crashes on modern Windows PCs. Therefore, the safest solution is to use tool.geoimgr.com in the browser or the default GPS camera of the mobile.
Follow these guidelines and upload at least two to three optimized images to your Google Business Profile each week. If you work consistently and correctly, your business will quickly rise to the top of the local search results.
Leave A Comment